
Hi, I’m Angie! A Petaluma-based engraving instructor and professional live event artist specializing in calligraphy performance. If you’re wondering how you can get started engraving your own beautiful gifts, I’m here to help! This is one of the most comprehensive (though not exhaustive), FREE resources you’ll find to to help you learn how to engrave by hand.
Contrary to what you may think, you DO NOT need to have any background in calligraphy or lettering to learn to engrave. If this is the camp you’re in, fret not! You can most definitely create fun engraved illustrations!
Engraving topics we’ll cover:
- Engraving Safety and Setup
- Choosing an Engraving Drill
- Engraving Burs
- Drafting Designs
- Engraving Drill Speeds
- Practice Materials
- Gilding Wax
- Beginner-friendly Projects
- Engraving Supply List

1. Engraving Safety and Setup
Safety first! We want to make sure:
- We’re working on a sturdy, protected surface. (i.e. secure table; not our laps)
- We’re protecting our lungs. (Avoid dust inhalation– wear a mask.)
- We’re protecting our eyes. (Blue light readers are just fine if you don’t have safety goggles.)
- We’re protecting our hair. (Be mindful of long locks!)
Watch me practice engraving safety in this 45-second clip.
2. Choose an Engraving Drill
The best tool to start with, is the one you already have! I personally started with a wall-plug-in Dremel, but have since upgraded my engraving kit to include rechargeable, portable, drills. I recommend searching for a “brushless motor nail drill” that reaches at least 35,000 RPM.
I explain in more detail in this blog post about why a brushless motor drill is preferable, and how to tell the difference between a brushless motor and brush motor drill.
In another post, I talk about every engraving drill I’ve ever used, listing their pros and cons.
And here’s a quick clip I made about choosing engraving drills.
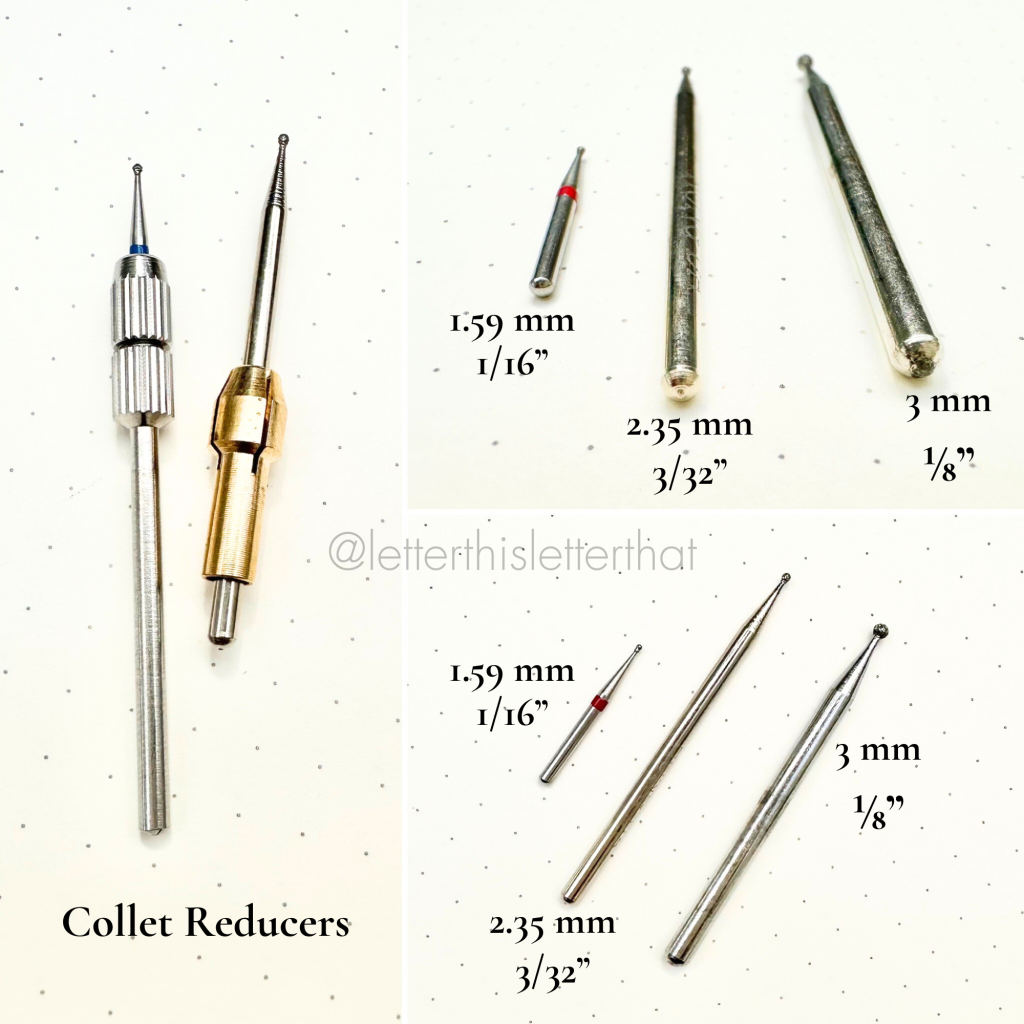
3. About Engraving Burs
THE SHANK OF AN ENGRAVING BUR
Pay close attention to the size of the shank accepted by your drill. You’ll find this information in the user manual and/or item description online.
My very first drill fit 3mm shanks. Most nail drills fit burs with 2.35mm shanks. Burs meant for dental usage require a collet reducer to fit correctly inside a nail drill or a Dremel drill.
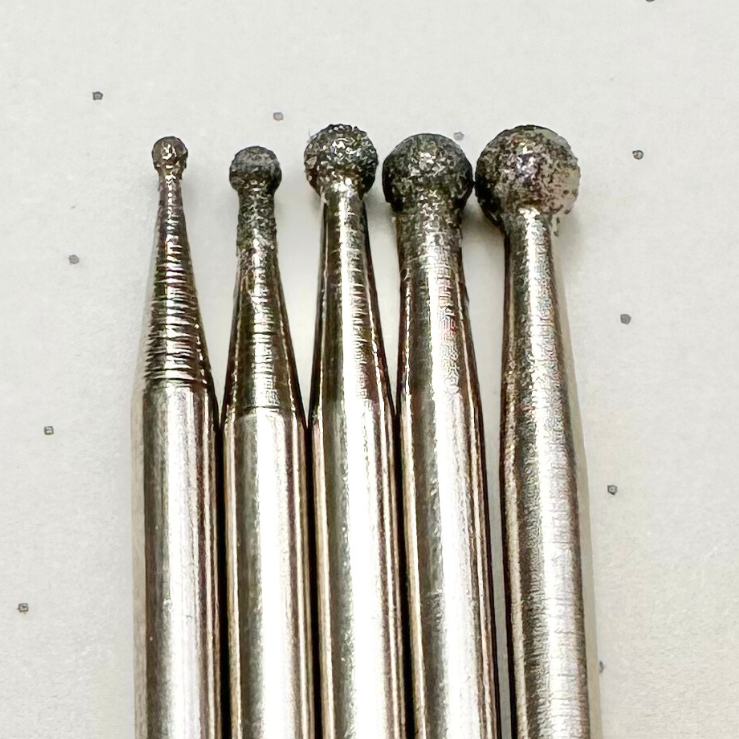
THE HEAD OF AN ENGRAVING BUR
For the kind of engraving I do, I use diamond encrusted burs (I use the ball tip most often). Depending on the item I’m engraving, or effect I’m trying to achieve, I’ll use different sized heads.
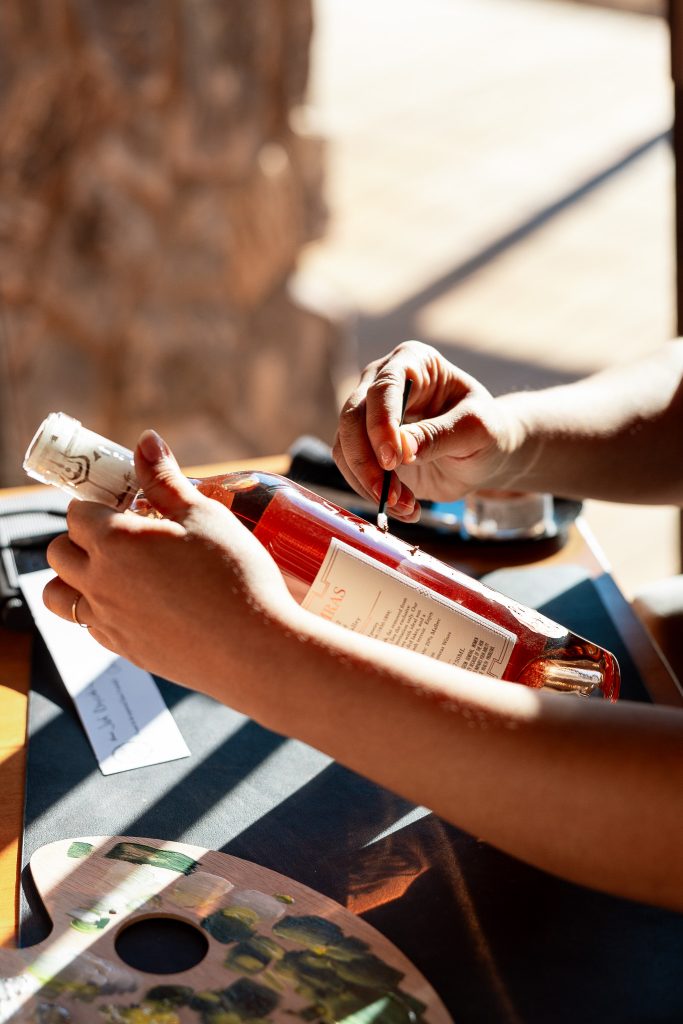
For example, I use smaller head burs (1.5mm and below) for small items like cosmetics and jewelry, or fine details in illustrations. I use larger head burs (2-3mm) for wine bottles, especially large format bottles (3+ liters).
Here’s a short clip where I explain a little more about burs.
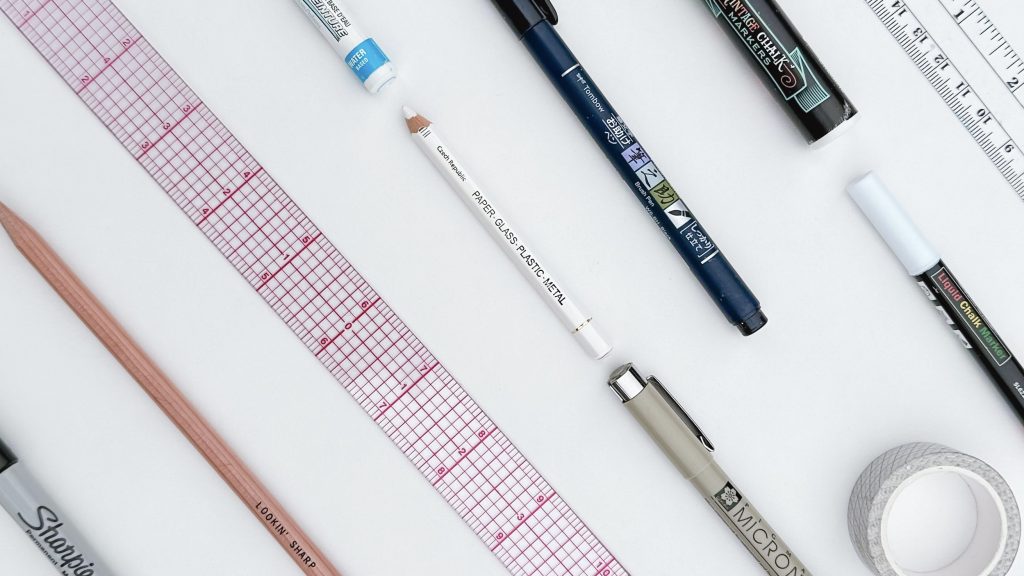
4. Drafting Your Design Before You Engrave
There have been times when I have truly and completely freehand engraved. But if I have the time, I will always draft out my design prior to engraving.
Be mindful of the material you’re drafting on. Test an inconspicuous area to ensure that you can remove the draft with either water, rubbing alcohol, or a solution of some sort.
You can also use the chalk method or transfer paper to copy more exact designs! I’ve used both black and white, depending on the color of the material I’m transferring the design on to. This method takes a little longer, but can be worth the extra effort when you’re replicating a certain design or font.
Here’s a clip talking a little bit about when I use certain drafting tools.
5. What Speed Should I Engrave At?
In the most general sense, the harder the surface you’re engraving, the higher the speed you’ll set your drill at.
To find what speeds you most prefer for each material, I highly recommend trying multiple speeds and pressures on each material, and making a record of it.
That being said, I’ve included the ranges I personally most often use, as a starting point for you to reference until you find your own unique preferences!
- Glass: 30-40 krpm (krpm = thousand rotations per minute)
- Steel: 17-30 krpm
- Aluminum: 10+ krpm
- Ceramic / Stone: 20ish krpm
- Plastic (the most tricky surface I’ve worked with!): 12ish krpm
Also, quick note on direction! You may see an “F/R” on. your drill. This refers to the direction your bur is spinning (either Forward, or Reverse). Try out both options to see which works best for you! Personally, I always set my drill to Forward. When it’s in Reverse, I feel like I don’t have as much control of the handpiece.
6. Practice Material For Hand Engraving
In my in-person workshops, we start with engraving on a flat panel of glass (from a photo frame) because it’s the most like drawing on paper (a flat surface we’re familiar with). I recommend starting there, and as you build some proficiency with your engraving skills, try out more 3D items.
In this little video, walk with me through my kitchen as we find good things to practice engraving on!
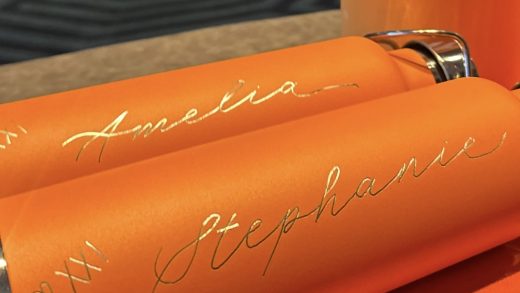
7. Gilding Wax For Hand Engraving
In general, gilding wax is applied to smooth surfaces (clear glass, acrylic). Textured surfaces don’t lend themselves as easily to it.
The reason? The gilding wax sticks to the roughed up engraved parts of your project, and is wiped off the smooth, unengraved parts. With frosted glass or dimpled plastic, there’s so much texture (in addition to the engraving) for the wax to settle in.
This 1-minute video walks you through different gilding wax application techniques.
If you’re ever in doubt about whether gilding wax will work for your project, test an inconspicuous area first! And a note about colored glass: most modern day glasses are colored by applying a coating to clear glass. Take special care to not scratch this coating by using a fresh cotton round or swab and a soft buffing cloth to wipe away excess.
8. Beginner-friendly Engraving Projects
As I mentioned earlier, the easiest items to work with are flat ones; think things like: flat ornaments, photo frame panels, and coasters. This clip will give you great ideas for easy engraving projects, and also tips for moving on to objects with more dimension to them.
A couple other simple project ideas: photo frame for family picture; engraved wine bottle hostess gift.
9. Engraving Supply List
Check out my favorite engraving supplies, with links included.
Need more in-depth engraving support?
Did you find this article helpful? Would you like to be the first to know when my online engraving course is released in 2026? Sign up for notifications here and I’ll let you know when registration opens!