In this post, I’m sharing the top five features I keep in mind when I’m shopping for engraving drills:
- Engraving Drill Speed
- Drill Motor Type
- Engraving Tool Appearance
- Drill Pause Button & Stepless Speeds
- Engraving Burs
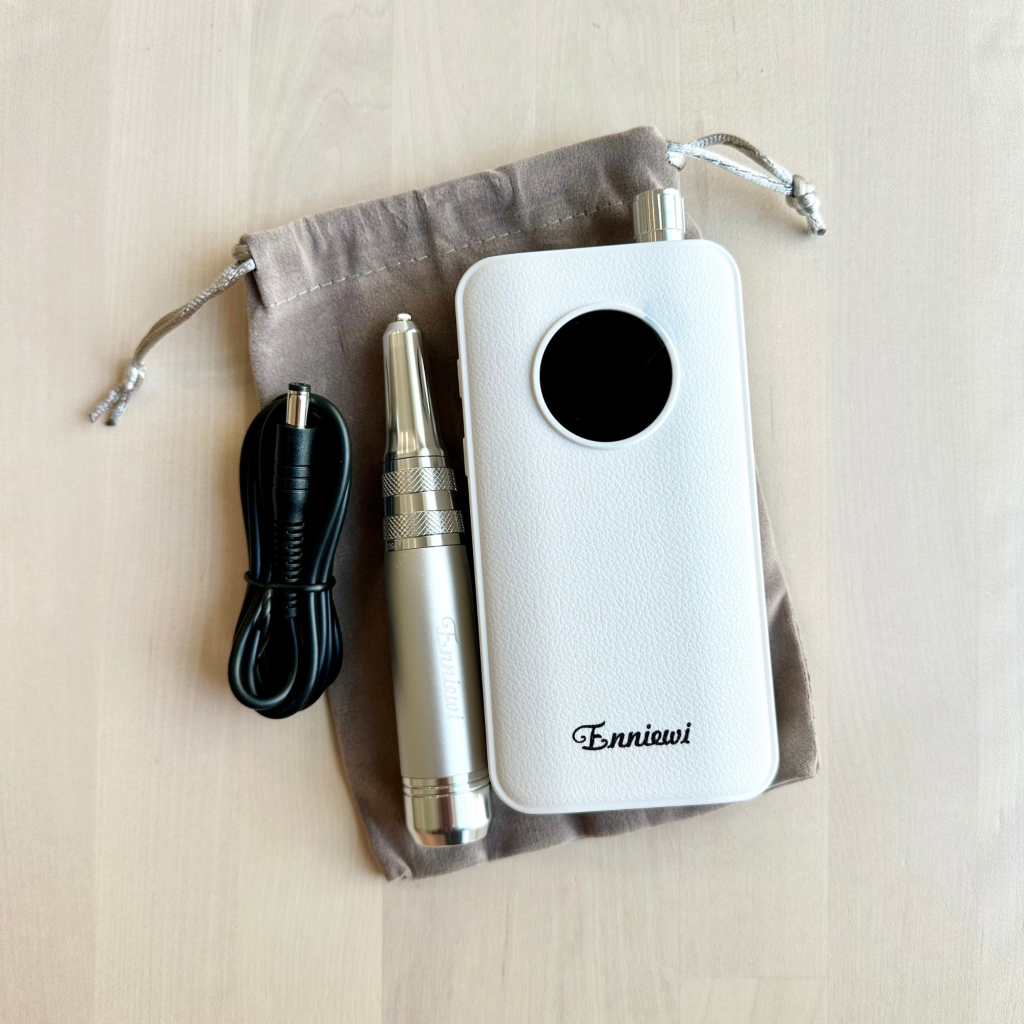
Did you know that most of the engraving drills I use in my work are actually nail drills?
Hi there! I’m Angie, a live event artist and engraving instructor based in the Napa-Sonoma area. As a professional onsite engraver I’m happy to report: there is no need to spend a couple hundred dollars on an engraving tool, especially if you’re just starting out!
While one of my first drills set me back over $300, my current go-to cost me $65, and I’ve found great hobbyist options for as low as $20 (here’s every drill I’ve ever owned and used). Read on to find out what engraving drill features matter most to me.
1. Engraving Drill Speed
I like to make sure the drills I purchase reach at least 35,000 rpm (rotations per minute). When I’m engraving onsite, especially at high volume events, speed is a crucial factor. This isn’t to say that a 20,000 rpm drill can’t engrave glass; you would just have to move your hand a little more slowly to ensure enough contact time to remove the same amount of glass a faster drill would in a certain amount of time.
Fun fact: 30+ years ago, the recommended speed for engraving glass was 12k-15k rpm (Source: Palmer & Palmer, Glass Engraving, 1990). This was because motorized drills at the time only reached speeds that high.
A very generalized idea, but: the harder the surface you’re engraving, the higher rpm. In my experience, I use the highest drill speeds engraving glass. When I engrave metal or plastic, I use much lower speeds (4k-27k rpm).
2. Drill Motor Type
Brushed motor drills can be much more budget-friendly initially, but brushless motor drills have longer lives and working times. I go into more detail in a previous blog post: read about the difference between engraving drill motors.
Great deals can always be found online, so just keep an eye out! It is very possible to find brushless motor nail drills for less than brushed motor nail drills. If you don’t plan on engraving for hours on end, a brushed motor drill may work just fine for your needs.
3. Engraving Tool Appearance
Many come in various colorways (bedazzled, even!) It’s so fun when you can pick a tool that reflects your personality.
Also! Portability is a must for me, so I gravitate towards models that are rechargeable and don’t require being plugged into a power outlet.
4. Drill Pause Button & Stepless Speeds
I HIGHLY recommend choosing a drill with a pause button. It does make life so much more convenient– especially when I’m working live events. It may not seem like a big deal to have to rotate the dial all the way down to zero, but once you’re accustomed to using a pause button, it’s hard to go back…
Also, a drill with stepless speed settings is the way to go. All of the drills I own have dials that I can rotate through to reach each (thousand) speed. Some drills may reach 30,000 rpm, but only have five steps (5k, 10k, 15k, 20k, 30k). Not a total dealbreaker, especially as a hobbyist, but I do prefer having more control to set the speed I’ll work at.
5. Engraving Burs
I use diamond tipped engraving burs. They come in a variety of shapes and sizes, but I most often use ball tipped burs. It’s important that the burs you purchase fit the drill you have, otherwise you won’t be able to engrave at all! Most nail drills accept burs with 2.35mm shanks. My Dremel drill used bits with 3mm shanks. A quick scan of your drill’s product description will let you know what size you need.
Thanks so much for reading; fingers crossed this post gave you enough guidance to shop for your own engraving machine!
And if you’re itching to learn more about engraving and would love structured guidance, I’ll be releasing an online engraving course is 2026. Sign up for emails and be the first to know when it launches.